
Indiana Jones and the Plastic Fedora: How to Repair a LEGO Keychain

About a year and a half ago, my dad came to me with a problem. He had accidentally sent his LEGO Indiana Jones keychain through the washing machine and Indy’s fedora did not survive! I spent the intervening months on and off pondering a repair process, and ultimately it was significantly simpler than I thought.
Join me as I walk you through the entire adventure or repairing a LEGO keychain.
Time for Adventure
My dad has always been fond of Indy. I was the only one he deemed old enough (at the very mature age of 7) of my two brothers to see Last Crusade with him in the theater. I still remember being a bit freaked out by the “He Chose Poorly” scene, but Crusade is my favorite of the five movies. We did get to see Dial of Destiny together recently as well.

The Adventure Hat, sneakily photographed by my sister
A big part of life with my dad is what one of my younger sisters deemed, “The Adventure Hat.” You see, my dad has a brown fedora, just like a certain roguish archeologist, and it would come out when we went on an “adventure.” This could be a trip to the zoo, various trips to pick strawberries, peaches, apples, or pumpkins, a visit to a paleontological/archeological dig (mastodons and early humans—how fitting!), or maybe airshows, all the way to a Father-Daughter dance with my sister at her wedding! The fedora was omnipresent for all of those occasions and became the symbol of my dad.
With that personal history in mind, replacing Indy’s LEGO fedora was a big responsibility!
Research
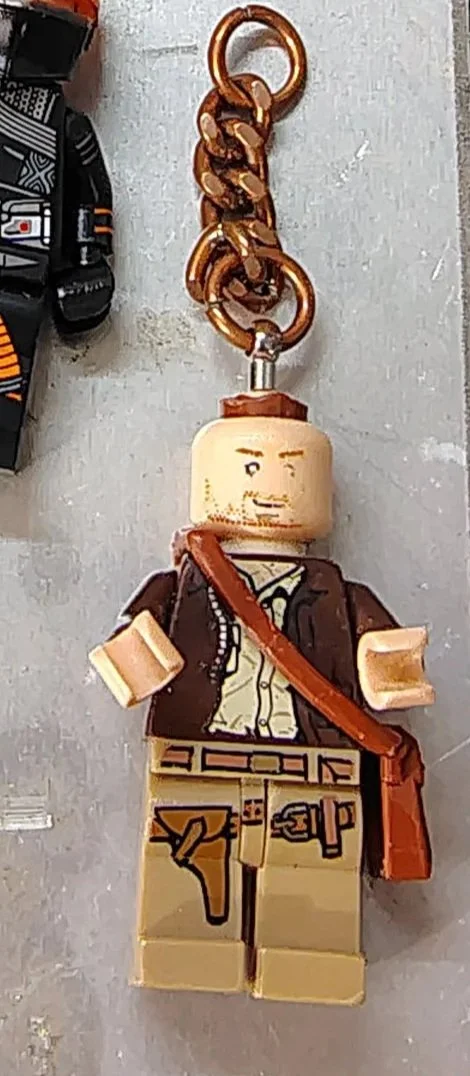
Indy before repairs
Just like Dr. Jones, some research had to be done before going in search of artifacts! The easy part was heading to my local LEGO resale shop where I grabbed a couple of brown fedoras. The keychain was from around 2008, so I assumed the fedoras were also from that era. I got two just in case I needed a backup if the drilling didn’t go well (brittle brown and all).
I quickly found that the “community-approved way” to disassemble a LEGO key chain was to use a soldering iron to soften the plastic/adhesive to release the pin, as Will Hafner showed in his recent article. It was either that or a process of cutting off then pulling the pin. However, no one seemed to have recommendations on how to restore the pin! Everything out there seemed that the destruction of the keychain for the minifig parts was the end goal, instead of repairing it and putting it back together.
For practice, I also purchased a Fennec keychain, a few old Elves keychains, and some basic 2x4 ones for some test specimens, courtesy of my friend Kaitlyn.
Sometimes You Just Have to Begin
Feeling bad about how long I had the keychain and knowing his birthday was rapidly approaching (it’s today! Happy birthday, Dad!), I decided to get started.
First, I gathered the tools that I thought I might need. Don’t be afraid of my photo—it has a few things that are just normally on my desk and not needed for this project specifically. I’m working at my model rocketry work bench not my LEGO table so be aware that there are all manner of adhesives and cutting implements.
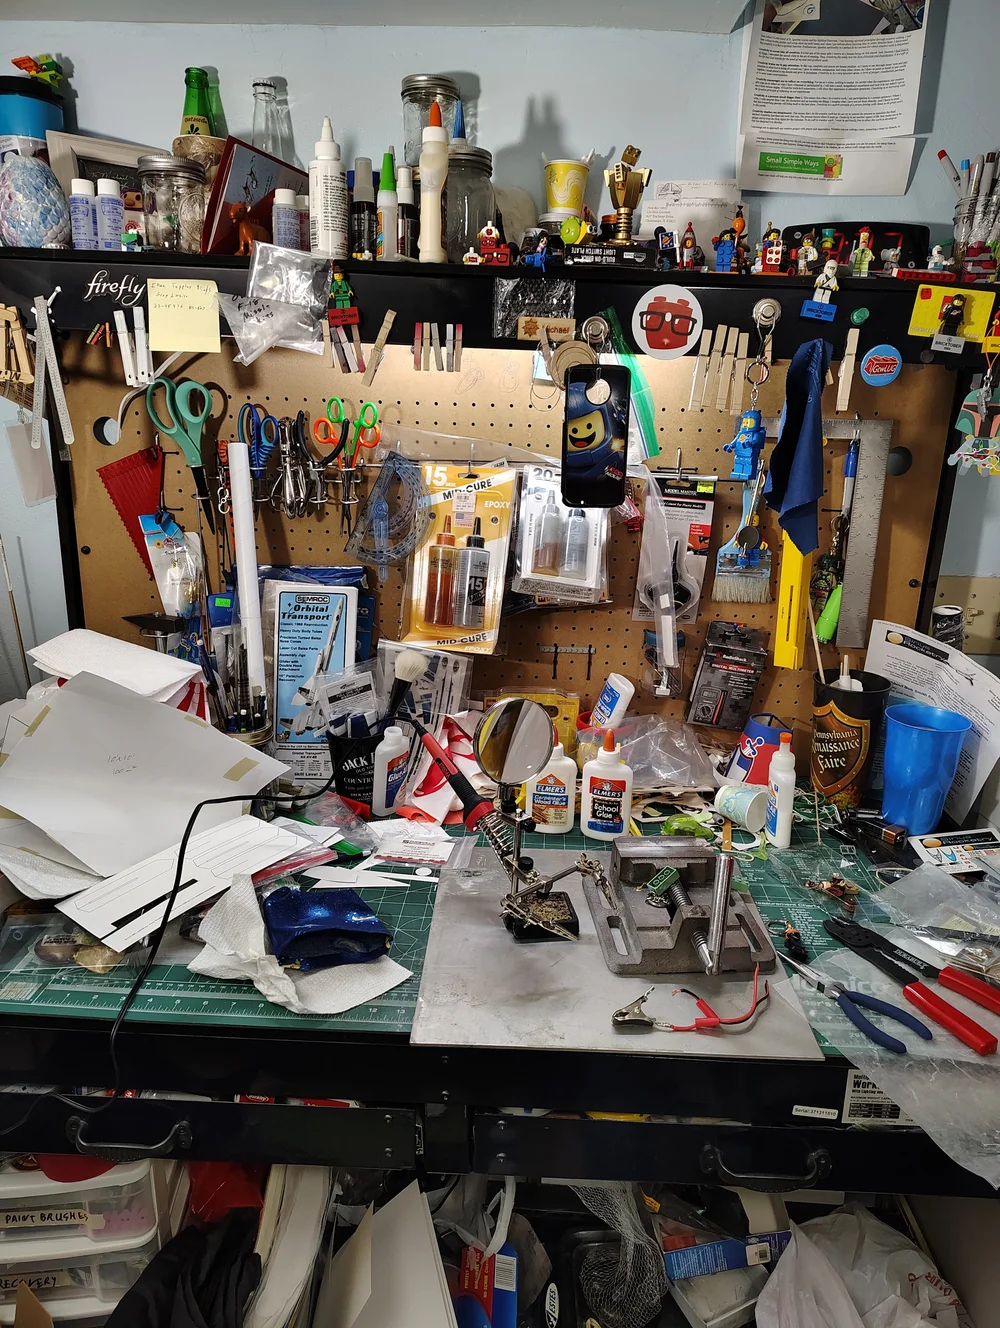
My Rocketry Work Beach, with knives, adhesives, and BrickNerd Swag, oh my! Also many of the tools listed below.
The nature of this repair job is not “purist” at all, so for those who are squeamish about the modification of LEGO elements and feel how Dr. Jones feels about snakes, you have been warned to turn back now!
Tools
Bull whip
Fedora
Harrison Ford’s smirk
Indy’s luck
Whoops, sorry, those are Indiana Jones’s tools. Let’s try again with tools for this keychain project:
Soldering iron
A place to rest your iron as it heats and cools (mine is a fancy combo tool with a simple metal rest)
A vice (or another way to hold things very still)
5/64” (0.078”/1.98mm) drill bit (if you have accesses to a full drill index numbers, 45-47 would be better; for those in non-English units, a 1.75 mm is a little on the small end and a 2.05mm is a little on the high end—I’m not familiar with common metric drill sizes, so these came from a drill and tap chart I have)
Repair parts
Pin vice (optional)
Indy’s luck (this one still applies a little)
Practice keychains (optional, but highly recommended)
Beginning Our Journey: Heating Things Up
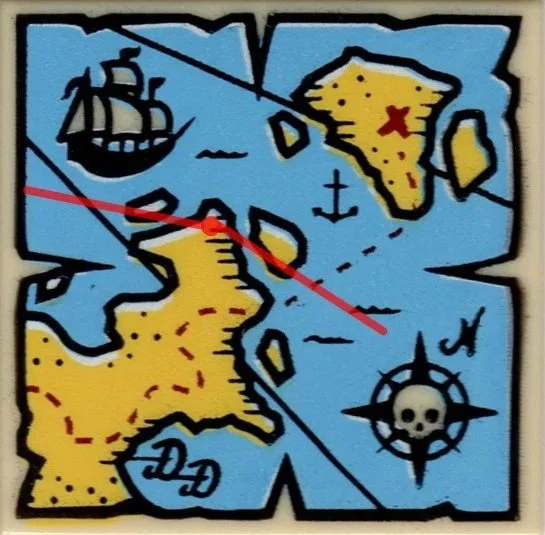
Cue some epic travel music and a map with the progressing red line, because we are going to get started on our Indy adventure! (And if you are a kid reading this, make sure you check with a parent to supervise!)
Step 1
Clear some space off your work bench, remove flammable items to a safe distance, minimize distractions, and proceed with extreme caution. Soldering irons get very hot, so even practiced solderers can burn themselves!
Step 2
All Clamped Up
Clamp the key ring in your vice or other sufficiently secured support. Give it a steady but firm pull—if it moves, make it more secure.
You will be steadily pulling on the keychain as you apply heat in the next step, so you don’t want it to move. Movement increases the chance of burns and melting your keychain.
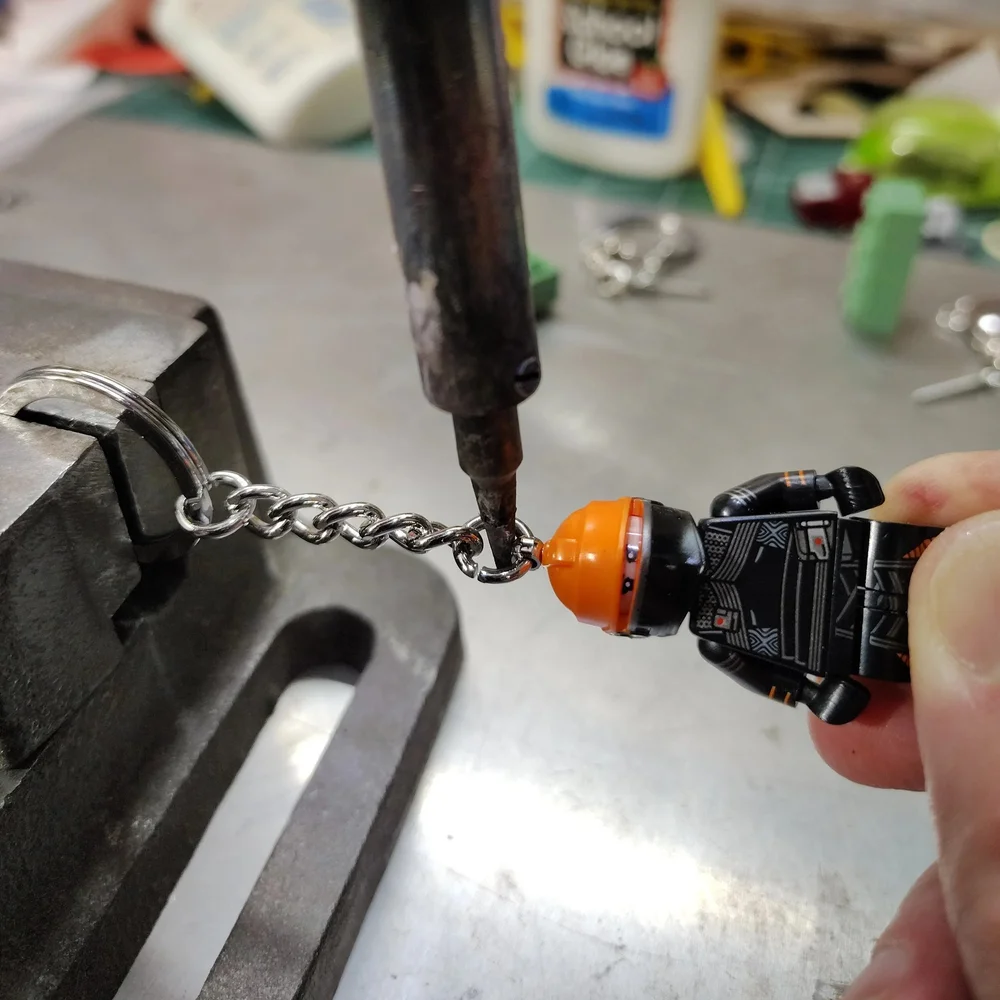
Step 3
Once your soldering iron is warm, pick up the LEGO end of the keychain and pull it until the chain is tight. (I gripped the LEGO part in my dominant hand, though it would have been smarter to have the soldering iron in my dominant hand!) Pick up the soldering iron and touch the tip to the head of the pin that is inserted into the LEGO element. Keeping the soldering iron in contact and pull on the keychain until you feel the grip start to loosen. Then the pin should slide out easily, though don’t touch it as it will still be hot.
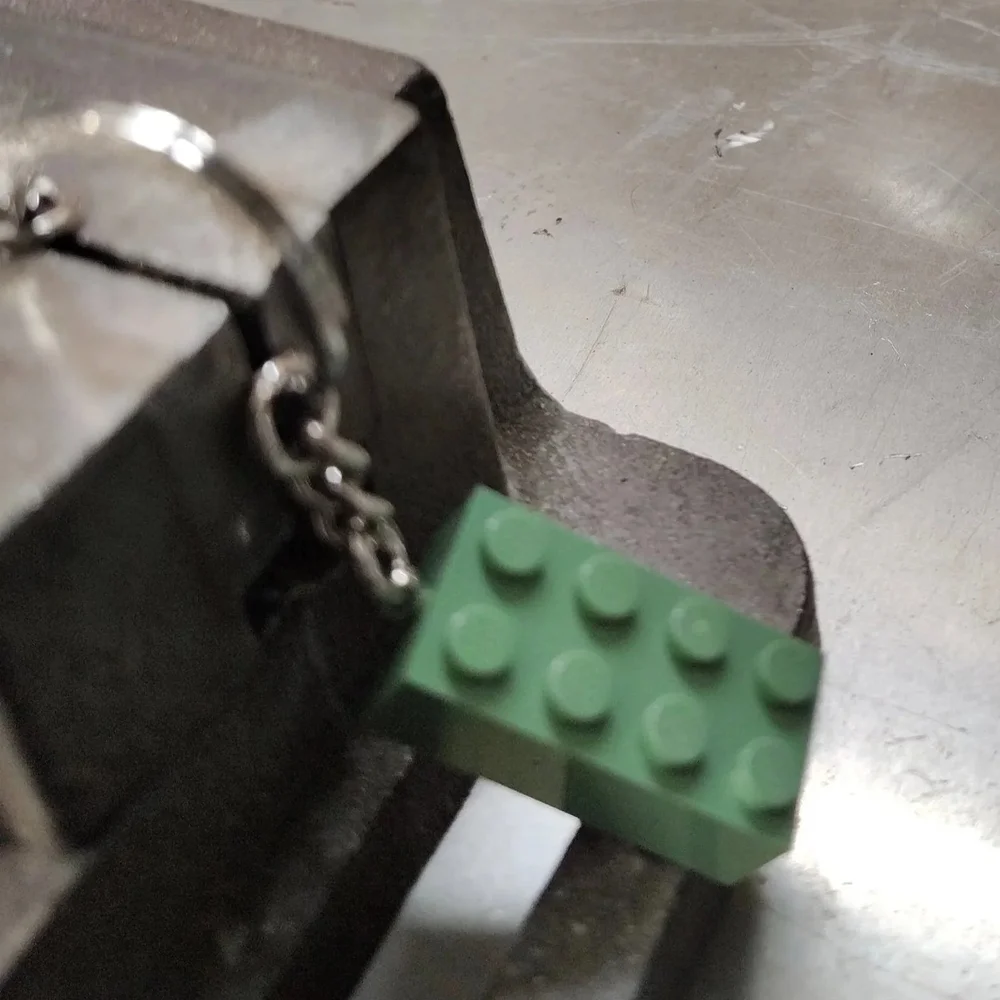
The entire process is shown in the gallery below using a few different LEGO keychains to demonstrate:
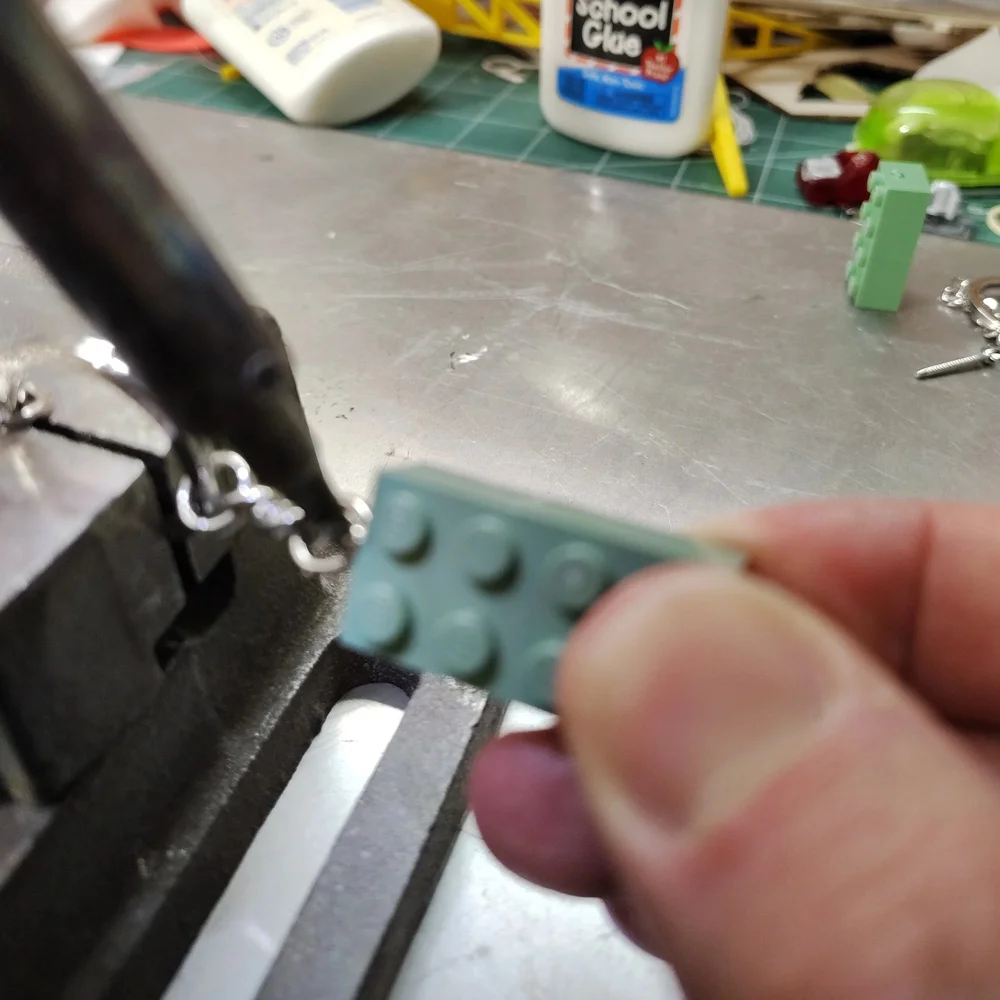
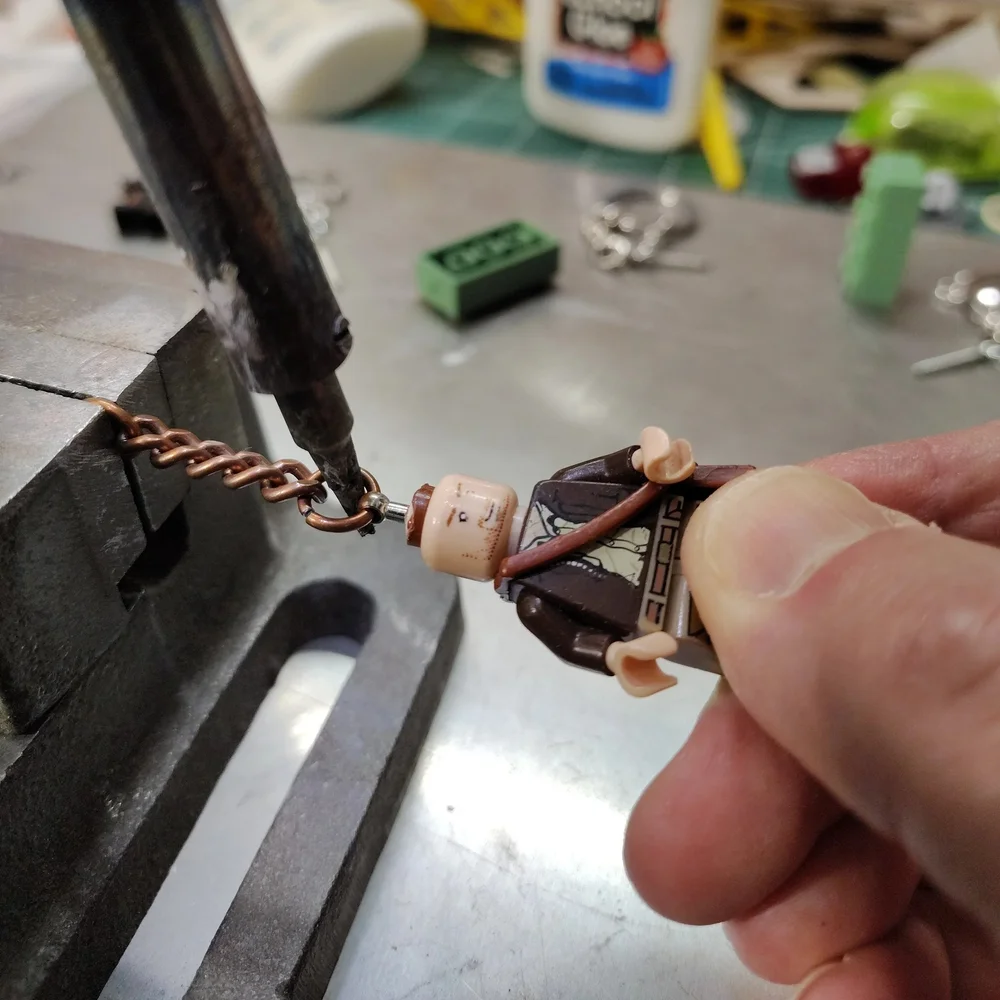
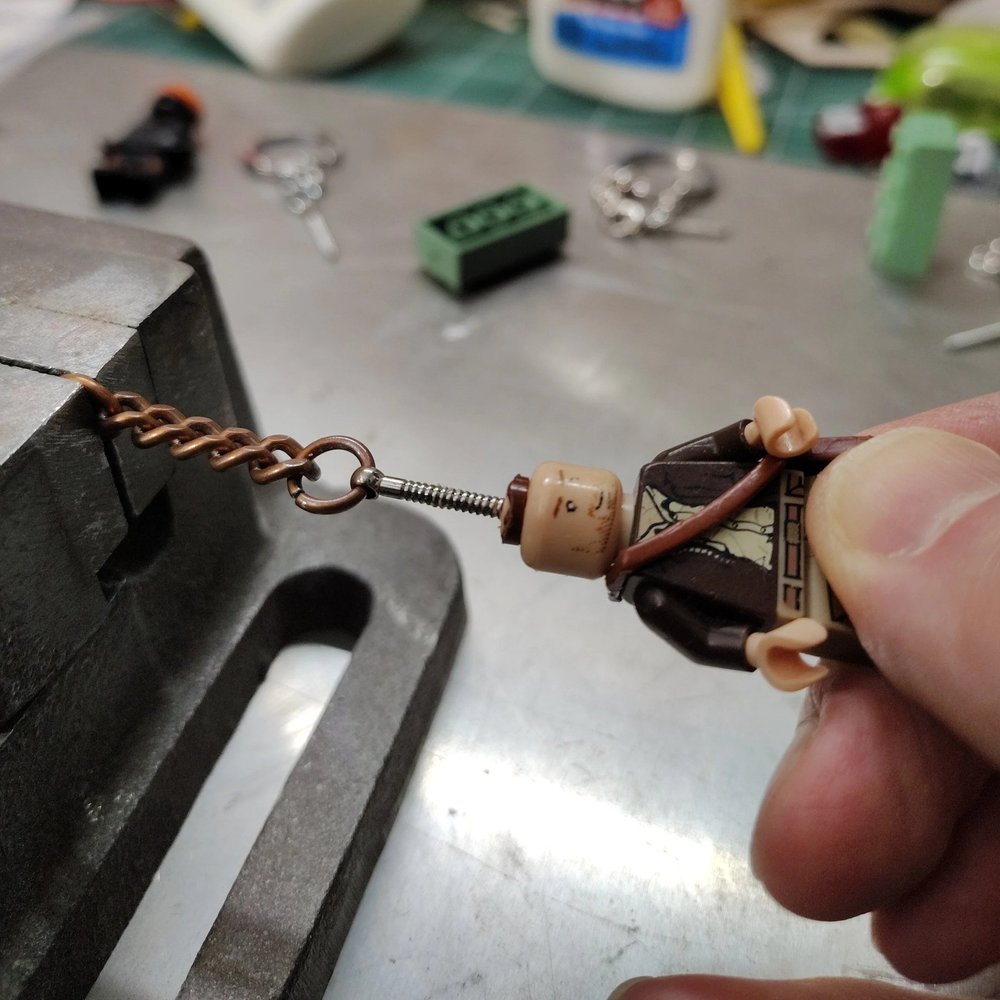
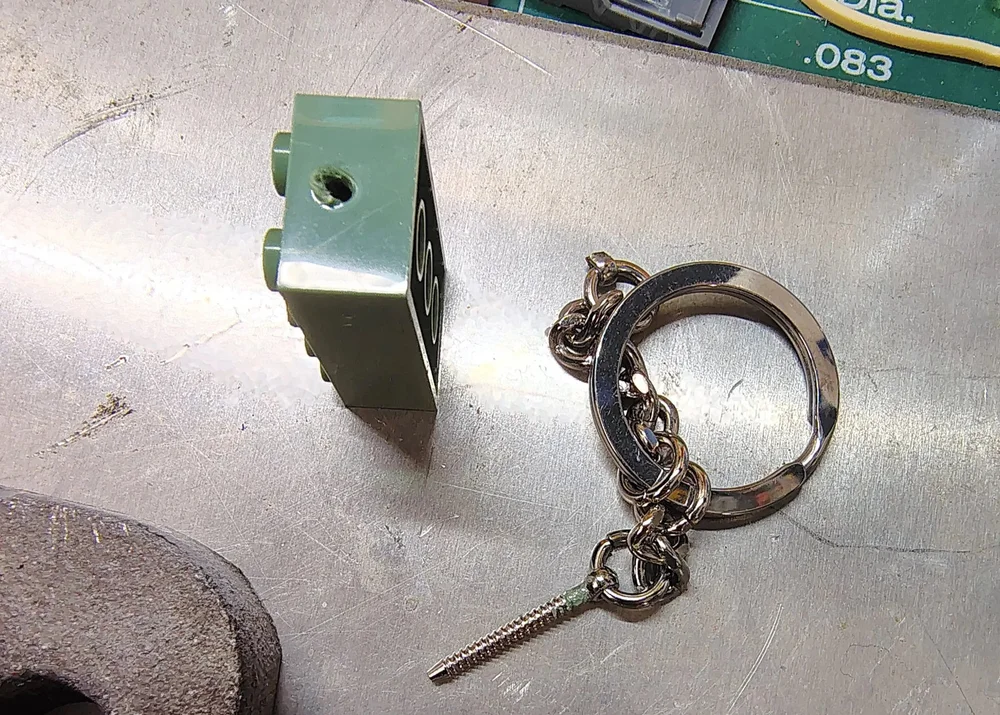
It should take less than a minute. I did not time the processes. The entire metal end of the key chain will be hot, so let it cool before touching it with your bare hands.
Here are a few of my observations after doing this process: the 2x4 keychains had a bit of a melt/pull-out puddle that the minifigures did not have. I suspect that the face of the brick being closer to the heat, in combination with the wall thickness in the area, caused the melting, in addition to the pin being in a different location rather than through a minifigure’s head/headgear. Still, I’m glad I buggered up a pair of 2x4s instead of either minifigure, since I adjusted the heat accordingly.
Look at that melt pool bugger!
One other interesting thing to note is that not all pins are the same size. The pins in the bricks and Indiana Jones are the same length, while the one removed from Fennec was a tab bit longer. I have a recent 2x4 key chain, and its pin is the same length as the older 2x4s and Indy’s.
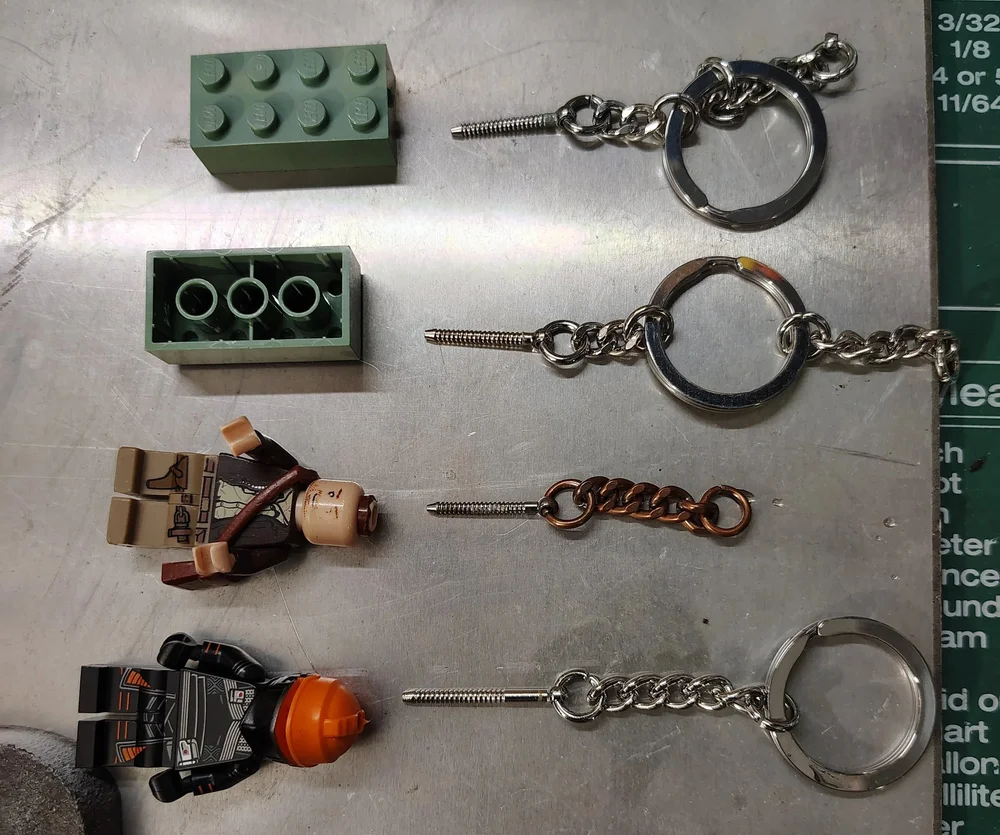
Varying Pin Lengths
A closer examination of Fennec’s pins shows that it is just added shank length (the non-serrated part), and may be there to accommodate the character’s thicker head and neck gear.
I also measured the pin to find the best drill size, and it is right at 0.080” (2.03 mm).
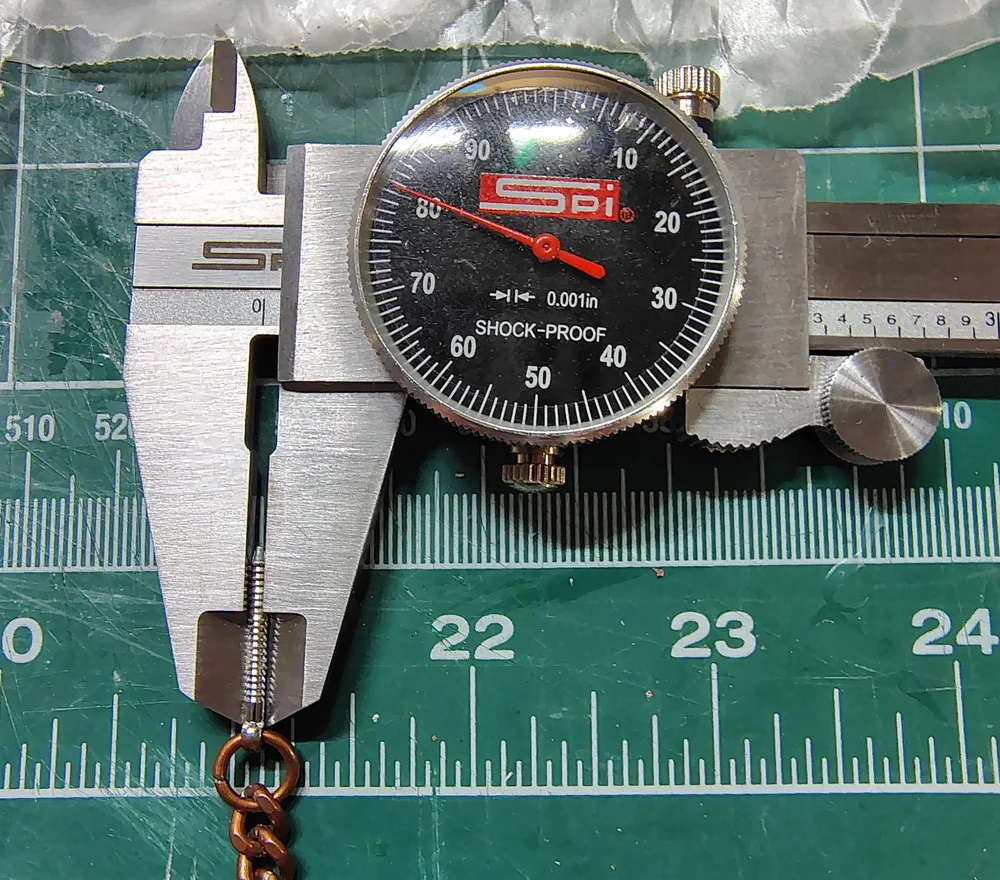
I love a nice even measurement!
Be Careful with Your Treasure! Repair and Reassembly
Like Indy carefully putting a sandbag on the plinth after swiping the golden idol, it is time for a bit of delicate work.
Step 4
As you might have seen, a bit of Indy’s old fedora was still stuck to his head stud. I contemplated a couple of ways to remove it and ultimately decided that my trusty X-acto knife with a #11 blade was the best tool for the job. I made small, gentle cuts working my way around the stud. As you can see, the knife work is very close! Cutting away from you is a good practice for this type of material removal, so that if you slip, you’re less likely to bleed.
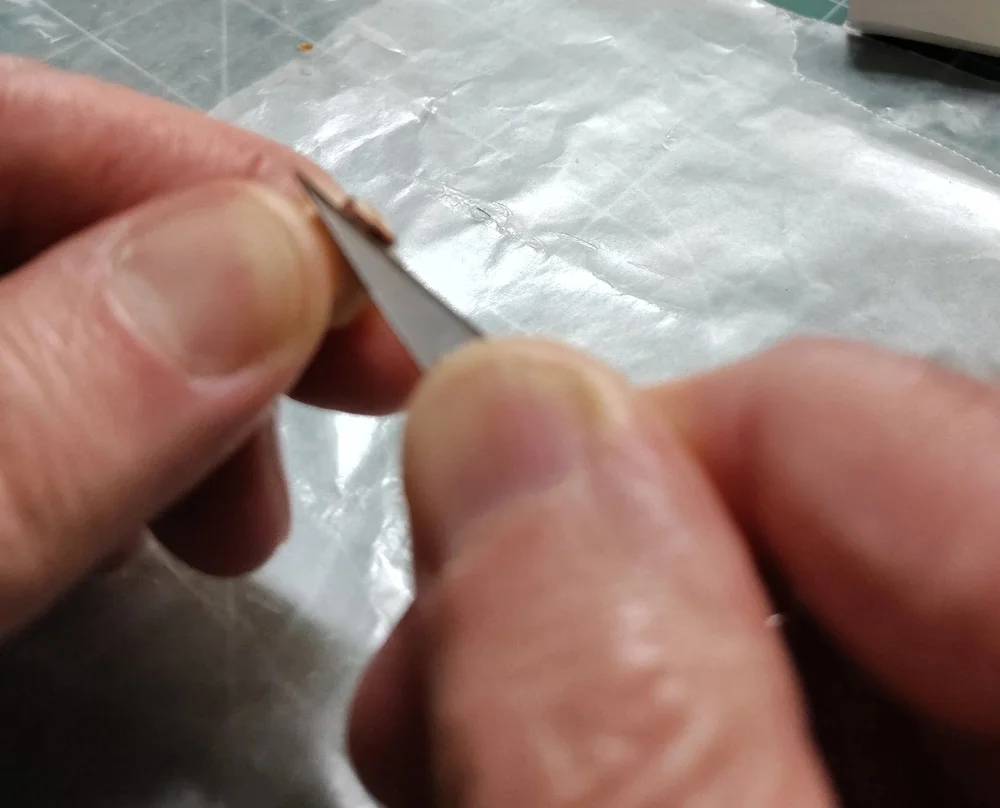
A small head, a very sharp small Knife and Giant Fingers!
I did try a sanding bar with some 320-grit sandpaper, but this didn’t help much. I felt I had a lot more control with the knife, so I went back to it. As I got closer to having most of the brown removed, I fit checked the new fedora until it had reasonable clutch. This is the one time brittle brown worked in my favor as the old bits slightly increased the friction.
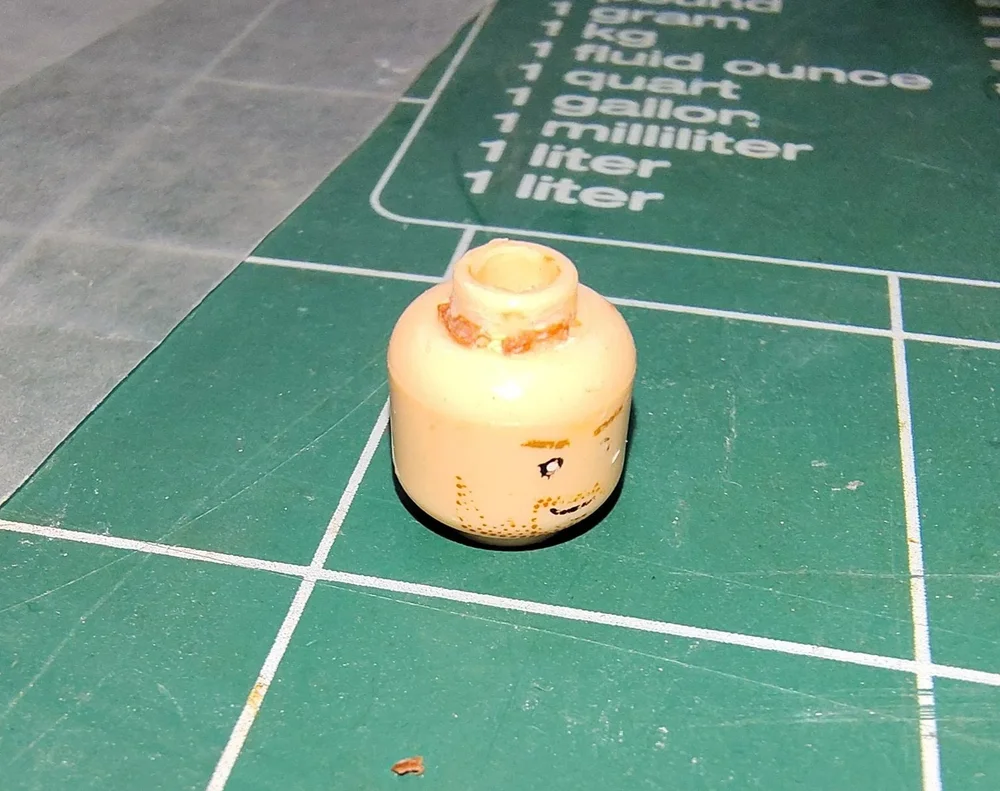
most of the glued-on brown of the old fedora is stripped away.
Step 5
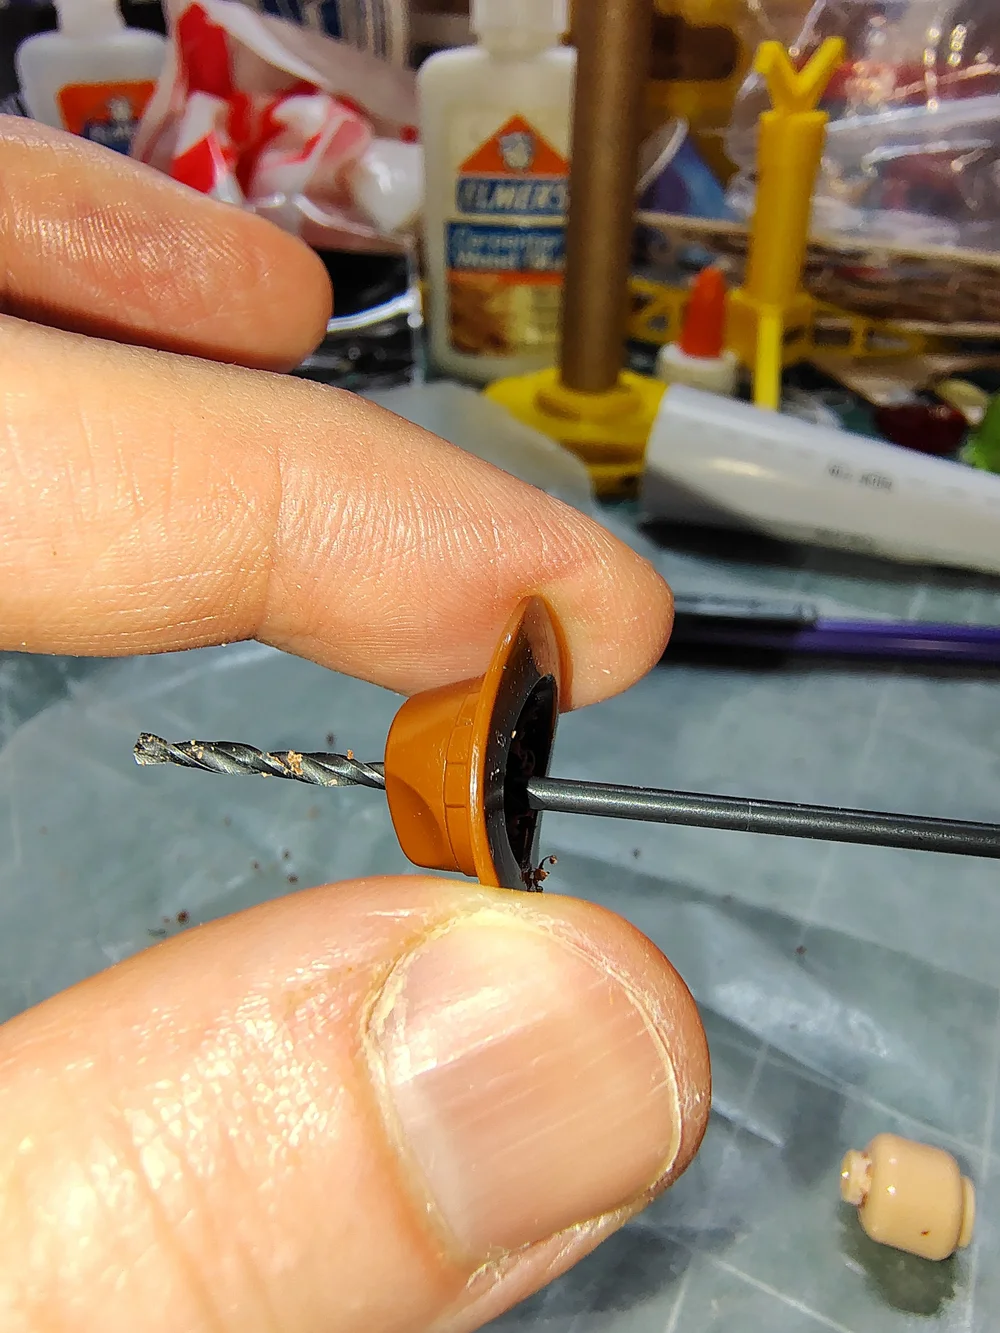
Now, put the old minifig head in the new fedora and line up your drill bit. I twisted the drill back and forth in my fingers until I had a hole started as a guide. Using a pin vice to hold the drill bit would have been an improvement. I could have made a straighter hole if I had sacrificed another keychain to make a bushing to guide the drill bit. A drill press on a very low speed could have also made a straighter hole, but that would have taken a bit of setup to get level depending on the headgear.
Back Drilling the new Fedora
After the hole was started, I removed the head and continued to twist the drill bit until I had a through hole. It did not take very long. Let the twisting action of the drill do the cutting; it takes only a little pressure.
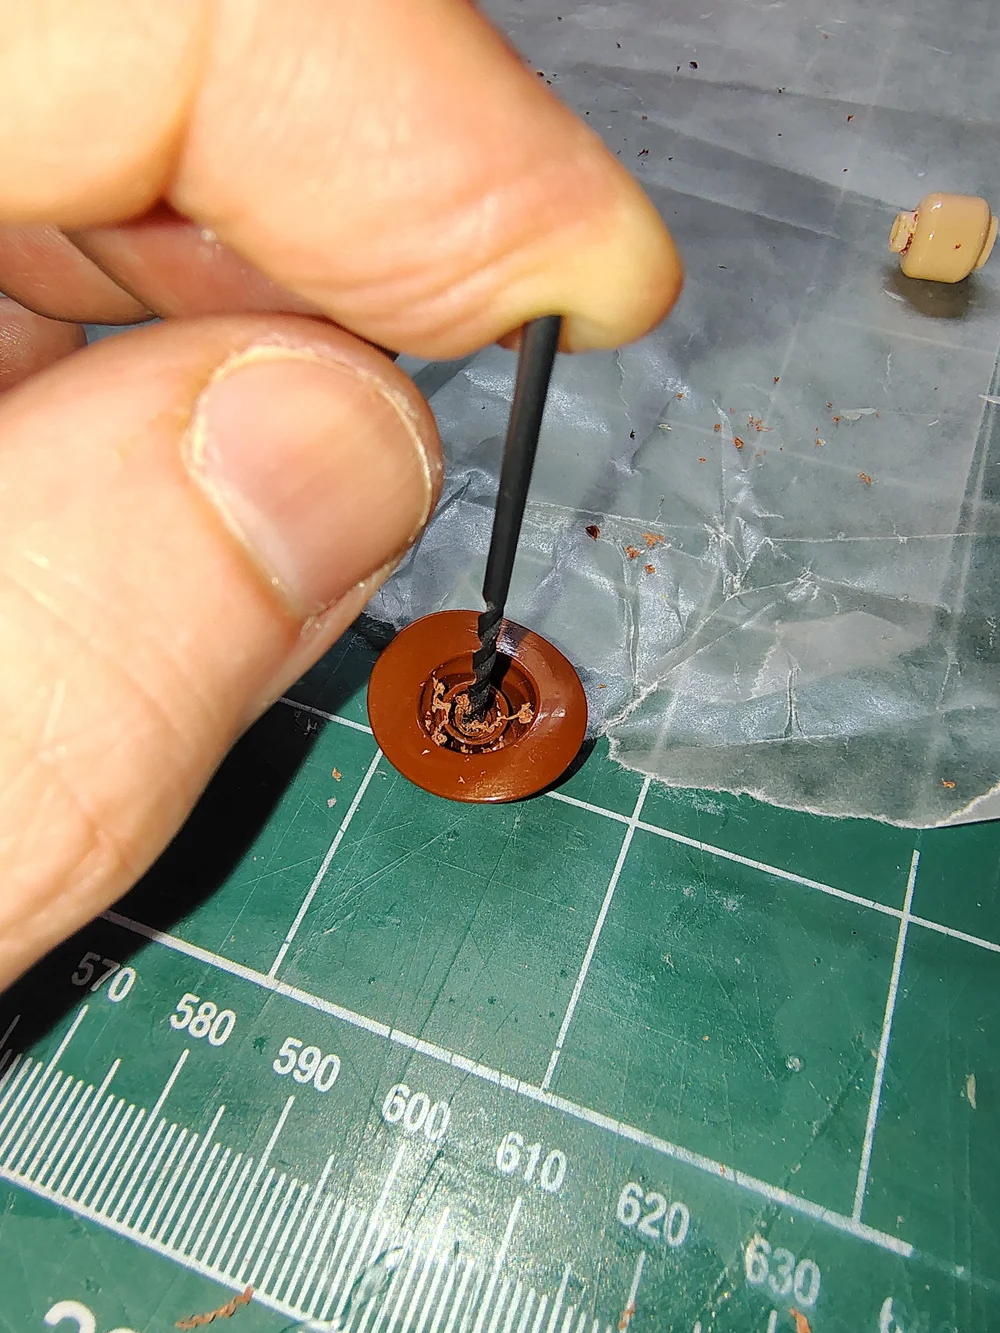
more drilling
In no time, you’ll be through. Try to get smoother edges if you can, but be careful not to make the hole too big.
Drilling complete!
Step 6
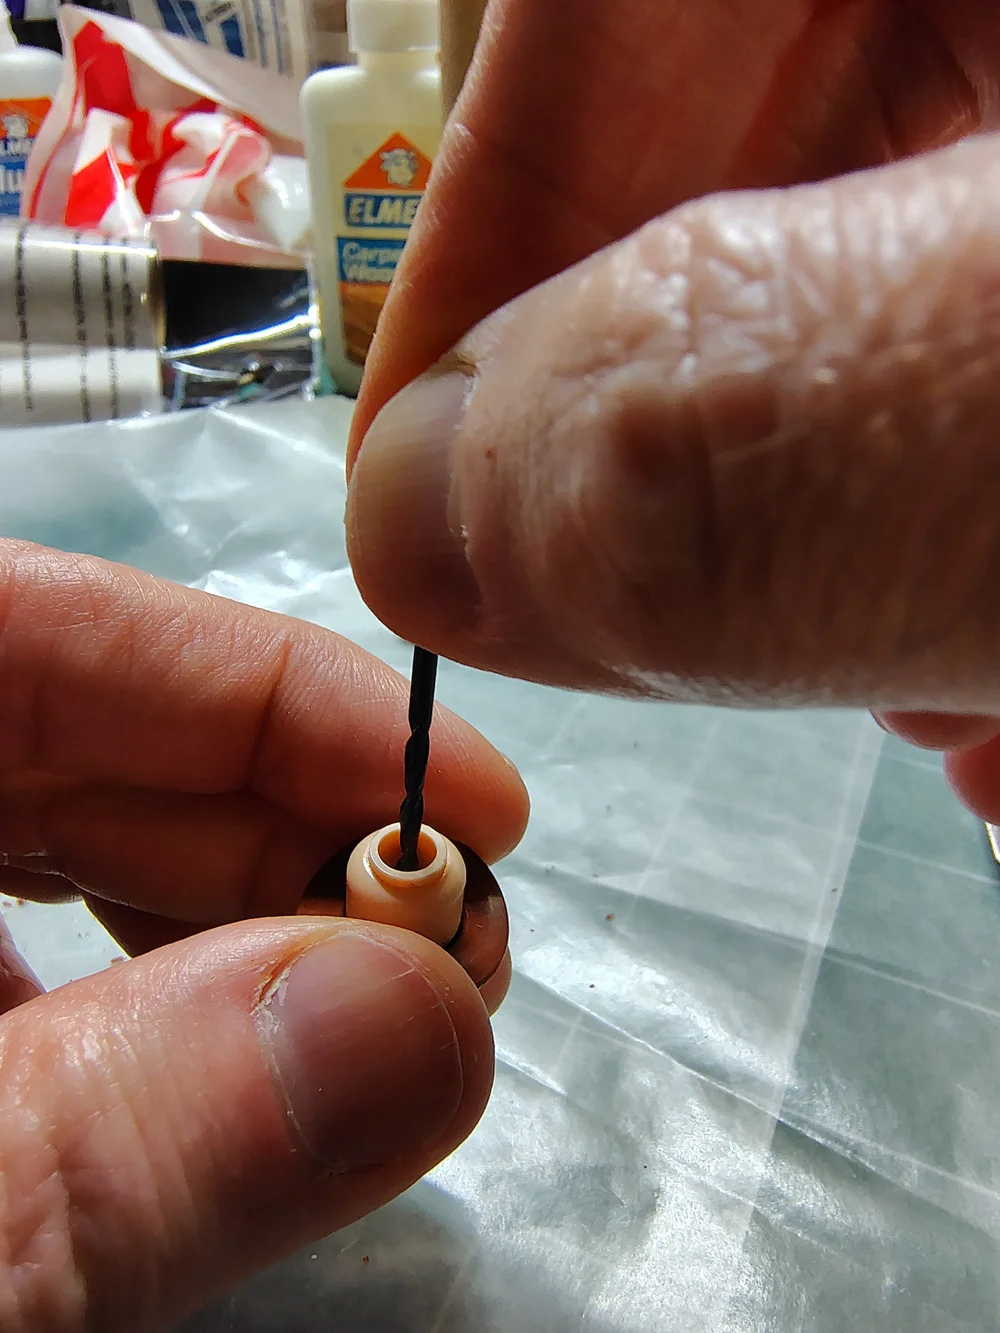
I then re-inserted the pin through the fedora and the head; my drill walked a little, so there was a slight misalignment, but it should work fine in the end. But now, how was I going to reinsert the pin back into the body!?
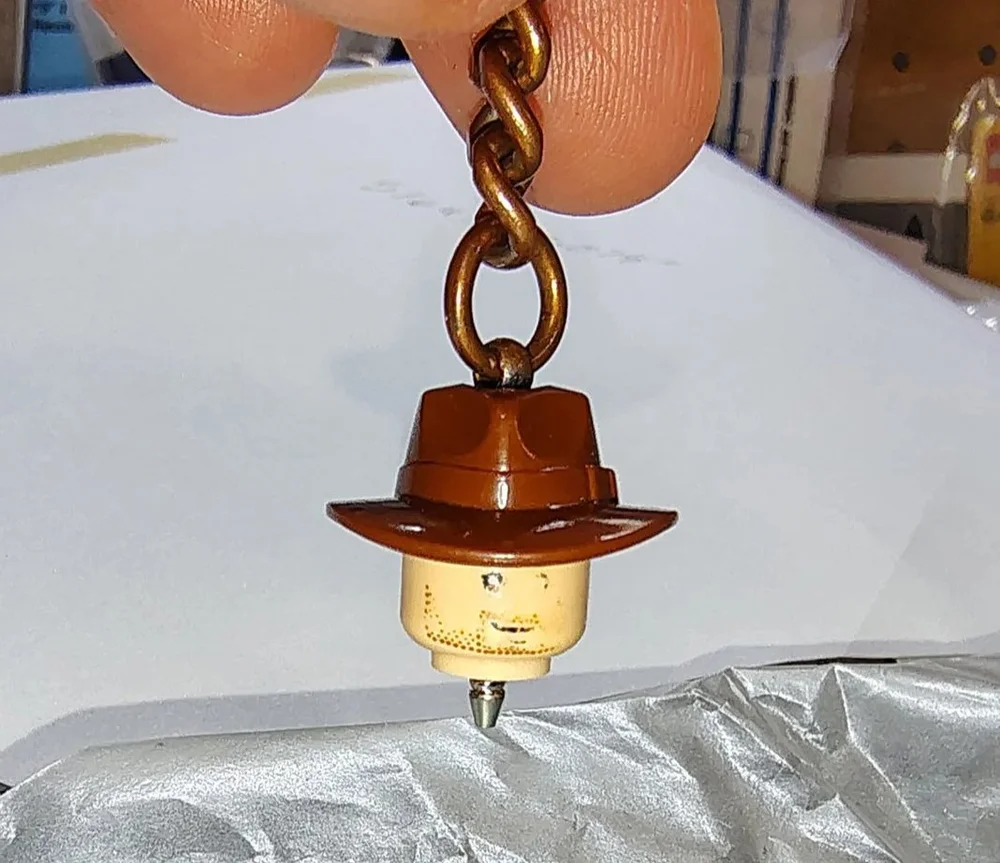
Partially resembled
I had three thoughts: 1) cold shrinking the pin, 2) heating the pin, or 3) just trying to shove it in!
I decided to cold-shrink the pin. I put the pin in my deep freezer overnight so it would slightly contract due to the cold temperature. You could try dry ice or another sub-freezer method of chilling, just be careful of safety. So, standing like Indy on the edge of the precipice for the blind man’s leap in the The Last Crusade, I aligned the cold pin and pushed.
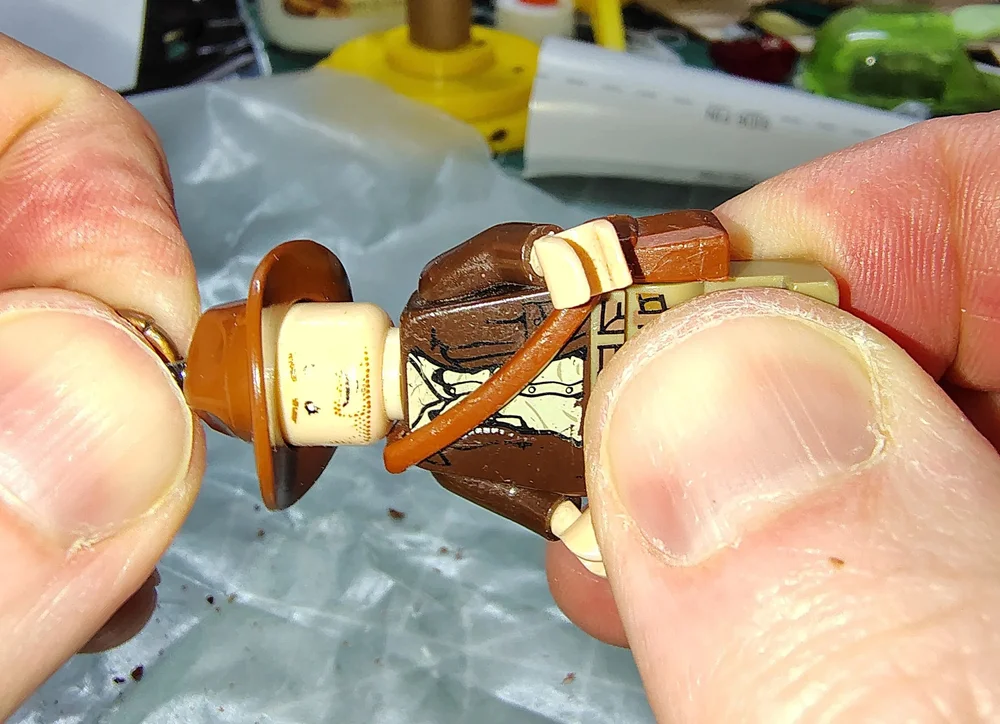
And it slips right back in!
The pin slipped in and wouldn’t pull back out with a moderate amount of tugging! I’ve only done this once, so I will not make any guarantees about anyone else’s success, but it has worked at least once. I can see possibly adding some glue if needed but for now, this is working great. Mission accomplished!
Bringing the Treasure Home
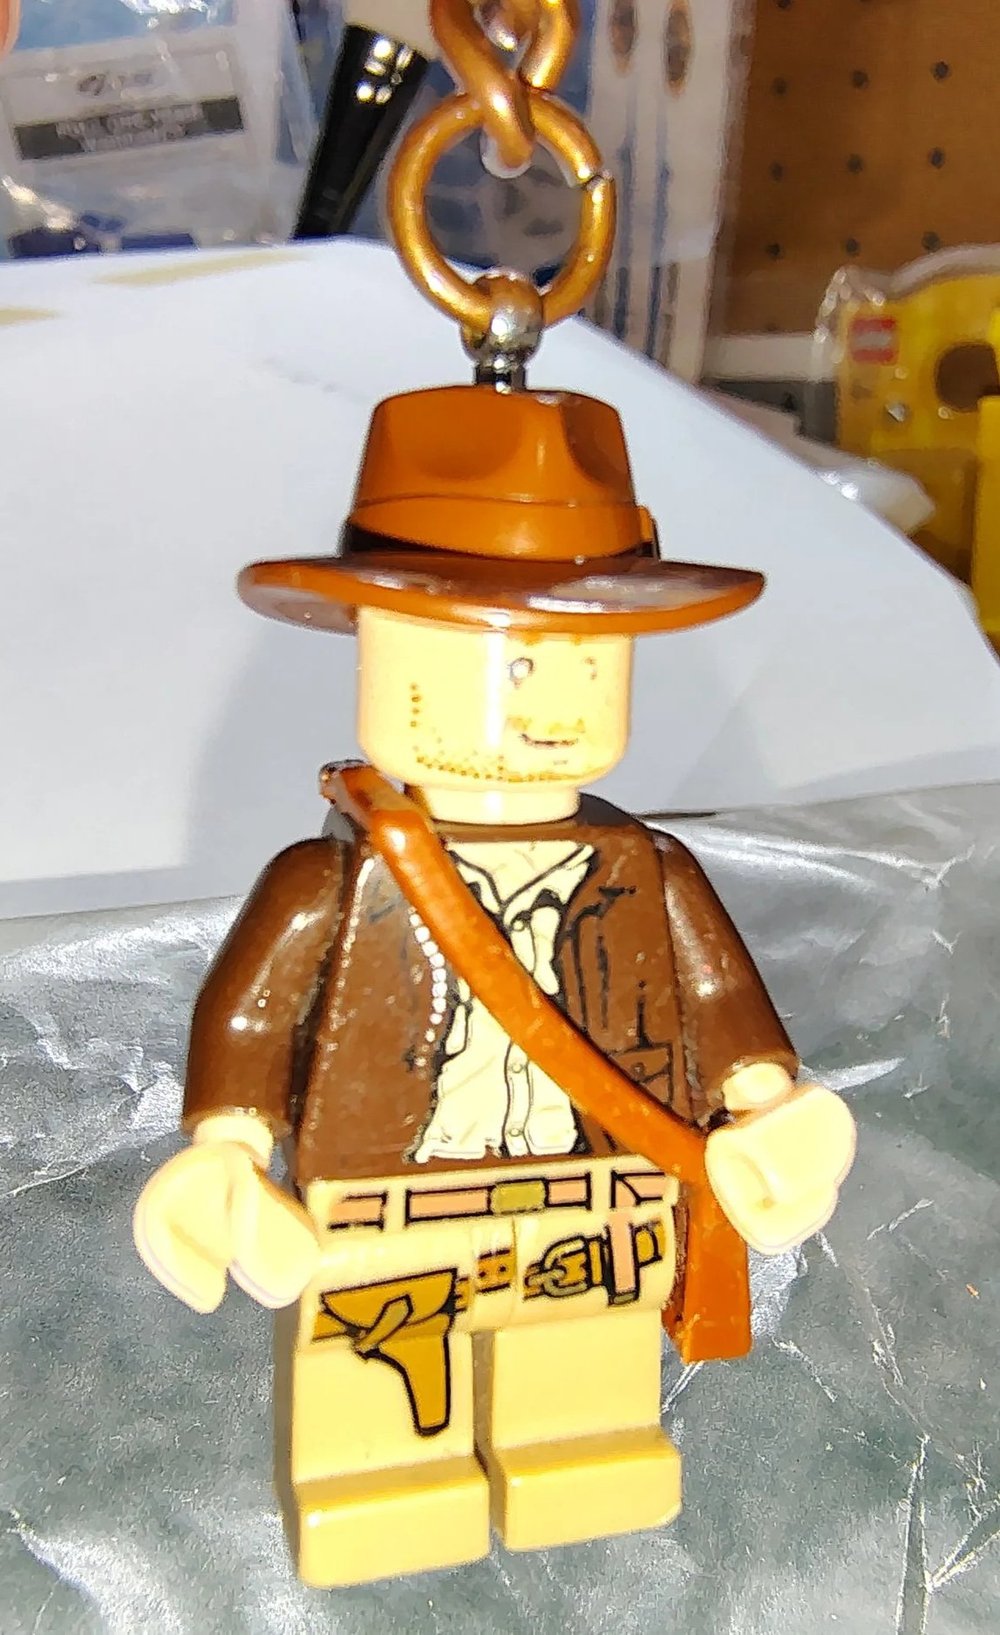
Whole again and ready for Adventure!
My father’s Indiana Jones keychain is fixed and can now serve for many more years! No need to put it in a giant warehouse of other artifacts or purchase something new. his fedora looks better than ever.
So what are my ultimate takeaways for the whole process of repairing a LEGO keychain? Practice is worthwhile, take your time and don’t rush things, proceed cautiously if you undertake a similar restoration, and remember that if things don’t go perfectly, that’s ok. Adjust, compensate, and move on the best you can.
Indy is ready to ride, one more time! Just be careful of a sequel with the washing machine…
Have you ever repaired a LEGO keychain? Leave your thoughts in the comments below.
Do you want to help BrickNerd continue publishing articles like this one? Become a top patron like Marc & Liz Puleo, Paige Mueller, Rob Klingberg from Brickstuff, John & Joshua Hanlon from Beyond the Brick, Megan Lum, Andy Price, Lukas Kurth from StoneWars, Wayne Tyler, Dan Church, and Roxanne Baxter to show your support, get early access, exclusive swag and more.